Compare Files, Reports, and Databases
This section provides step-by-step instructions required to start a new or modify a comparison process, how to show differences, filter / search / export compare results, drill down to view highlighted document differences, expand / collapse compare results, search for text in source or target documents and copy or print comparison result details.
Comparing database schema, report files, programming language code files, or documents is an effective way to quickly pinpoint differences / changes between environments or releases. This is particularly effective when assessing the impact of changes to a vendor supplied new release by simply comparing your current production environment to the new release deployed to a staging environment, for example. Compare identifies all files or database objects with differences and includes the ability to drill down and view these differences with side-by-side colour highlighting of line-by-line contents.
View Compare Results Detail
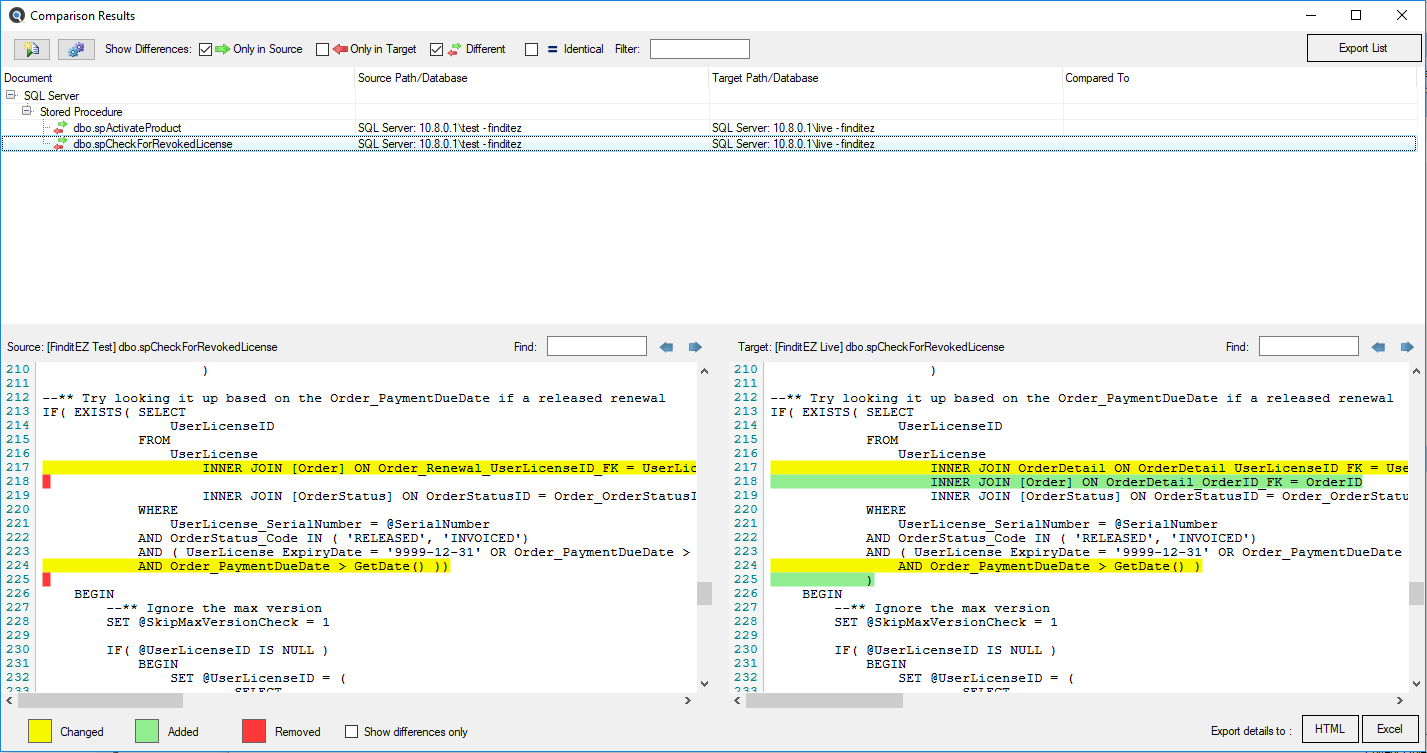
After completing a comparison using the Compare Wizard and viewing the results summary, click on the button to view the Comparison Results window. See example below:
Start New Compare
Alert: The following procedures will remove all compare results. Export or save any details you wish to keep before starting a new compare.
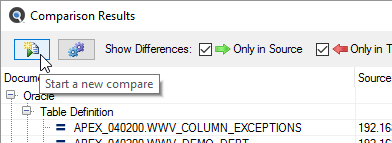
To start a new comparison, you may either use the menu or click on the  button located in the upper, left corner of the Comparison Results window.
You will be returned to the beginning of the Compare Wizard to start a new comparison.
Modify Current Compare
If you wish to simply change the set of files that were included in your latest set of comparison results, you can quickly do so by restarting mid-way through the Compare Wizard . To do so, in the upper, left corner of the Comparison Results window, click on the  button.

You will be returned to the Compare Wizard document selection dialog window to allow you to change the set of documents you want to compare.
Filter Compare Results List
At the top of the Comparison Results window, there are a number of Show Differences view filters available. See below:

Once a compare wizard has been completed, a list of results are presented on the Comparison Results dialog with the screen split into a summarized list view on top, and a detail view displayed on the bottom whenever a list item is selected. The results are grouped by document and document type within the list view. To expand or collapse a result group, click on the '+' or '-' button, respectively.
Click on any item in the list to drill down and view content of the item in the “diff viewer” below. You may locate an item within the list by using two available list filter options:
Click to check the desired check-box to view that selection. The first three filters are checked by default. Click to un-check any as desired:
-
Click to check the desired check-box to view that list of corresponding documents following the Source vs Target comparison. The first three filters are checked by default. Click to un-check or check any as desired:
- Only in Source - No corresponding file or database object exists in the Target project, indicating an item has only been added in the Source project or has been removed / is missing from the Target project.
- Only in Target - No corresponding file or database object exists in the Source project, indicating an item has been removed or is missing from the Source project ... or has only been added to the Target project.
- Different - list of files or database objects that contain differences within their content. Indicates that this set of files have changed when comparing Source to Target project copies.
- Identical - list of files or database objects that contain NO differences within their content. Indicates that this set of files have NOT changed when comparing Source to Target project copies.
-
As you type text into the Filter text box, the displayed list items are automatically restricted to show documents that contain the text within the file or database object name. For example, you may type the text “Customer” to only list a subset of items containing the word “Customer” within the file or database object name.
Tip: Use of these filters is also applied to restrict the items included in an export list.
Export Compare Results List
-
Use the list check boxes to filter the list of documents you would like to export. Only selected (checked) items will be included.
-
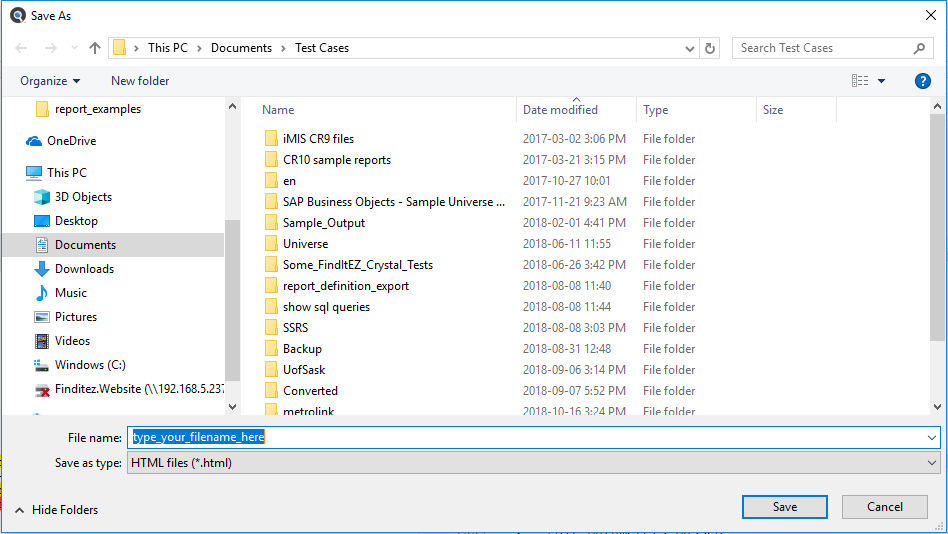
At the top of the Comparison Results window, locate and click on the button. A Save As dialog will appear.
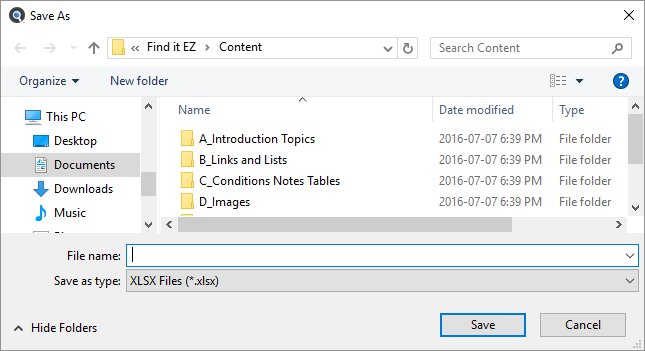
- Enter a File name.
-
Click on the button.
Note: The list will be saved in *.xlsx file format. - The saved list will open automatically with the selected viewer / editor.
- The following data will be included in the exported file:
- Source, Target, and Date Compared - a summary of when and what set of documents were compared.
- Comparison Results - for each document included in the exported set, this will indicate one of four possible results: the file was found in the source set only, target set only, found in both and had differences, or contents were identical.
- Source Document Type
- Source Host
- Source File Path or Database
- Source Document
- Target Document Type
- Target Host
- Target File Path or Database
- Target Document
- Save the file as desired.
Work with Compare Wizard Details
When a list item containing differences is selected from the list above, the actual lines and type of differences that exist between the source and target content are highlighted using the appropriate colour. The side-by-side differences viewer will auto-scroll both source and target contents to show changes between the two documents in full context.
To eliminate the need to scroll through the entire content of documents and show lines with differences only, simply click to check the Show differences only check-box.
Tip: Use of the Show difference only filter is also applied to restrict the items included when exporting details to an XSLS or HTML document.
At the bottom of the Comparison Results window, there is a result status colour key. See below:

Differences between the source and target content are highlighted in the above colours.
To show differences only, click to check the Show differences only check-box.
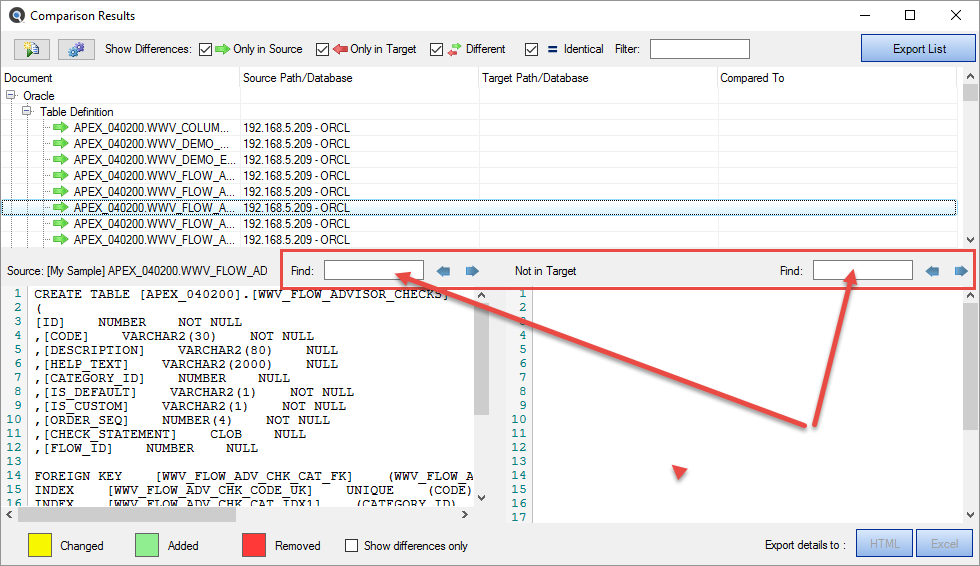
To search for specific text within either the source or target viewer:
- At the top of the Source or Target window, locate the Find text box.
- Enter the desired filter / search text into the text box.
- Click on the right arrow button to find next or the left arrow button to find previous. Content matching your search criteria will be highlighted in purple.
- Repeat to view all instances matching your search criteria.
Export Compare Details
You may export the color highlighted contents of the side-by-side differences viewer to ether an HTML or XLSX file format.
At the bottom right of the Comparison Results window, locate and click on either the HTML or button. Highlighted Source and Target side-by-side details will open in the selected Windows default editor. Save as desired.