Installation and Configuration Wizard
Install Code Search Pro Desktop
Once the setup file has been successfully downloaded:
-
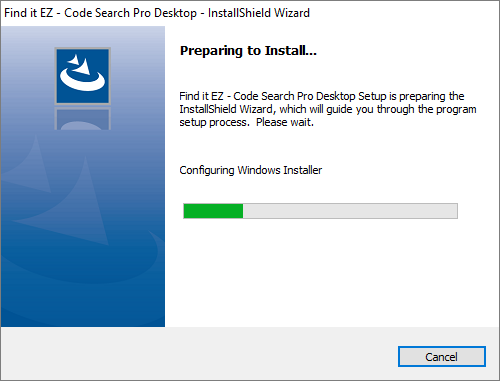
Locate and double-click on the *.exe file in the lower, left of your desktop or in your Downloads folder. The Preparing to Install... dialog will appear, as below:
Once the preparation is complete, the following dialog will appear:

-
Click on the button to continue. The License Agreement dialog will appear, as below:

- Read and accept the license agreement as follows:
- Use the vertical scroll bar to read the license agreement carefully and thoroughly.
- To print the license agreement, click on the button. A Print dialog will appear. Configure print settings as desired and click on the button.
- To accept the license agreement, click to choose the I accept the terms in the license agreement option.
-
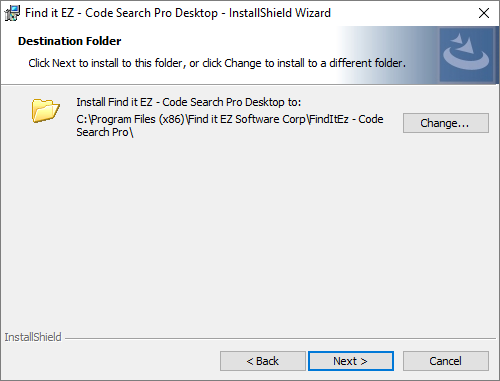
Click on the button to continue. The Destination Folder dialog will appear, as below:
-
To change the destination folder, click on the button. The following dialog will appear:
- Make changes, as desired, and click on the button to close the dialog.
-
-
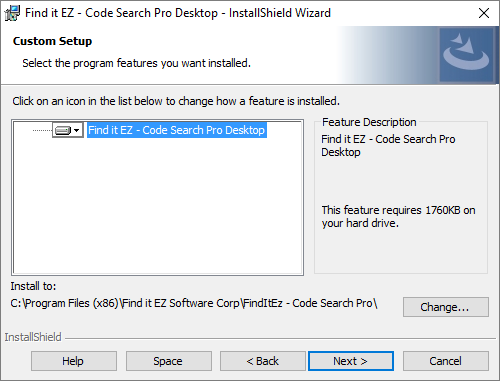
Click on the button to continue. The Custom Setup dialog will appear, as below:
-
To change how a feature is installed or to exclude a feature, click on the icon preceding the feature name and select the desired option from the context menu. For more information, click on the button. See below:
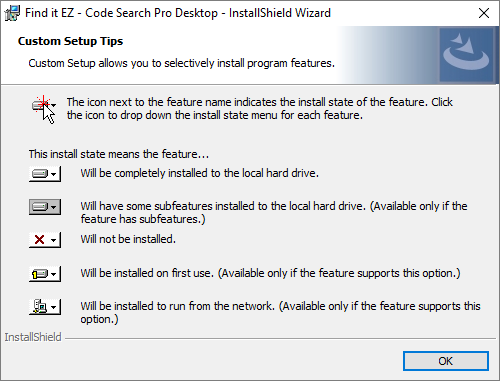
- To close the Custom Setup Tips dialog, click on the button.
-
To view available disk space, click on the button. The Disk Space Requirements dialog will appear, as below:
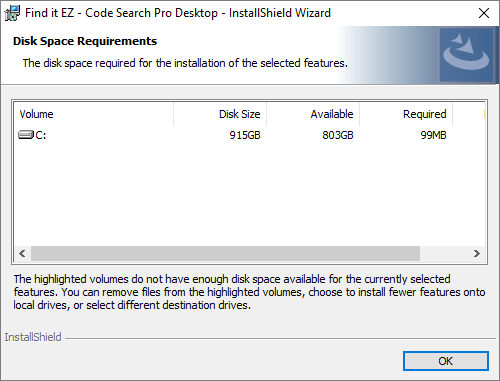
- To close the Disk Space Requirements dialog, click on the button.
-
-
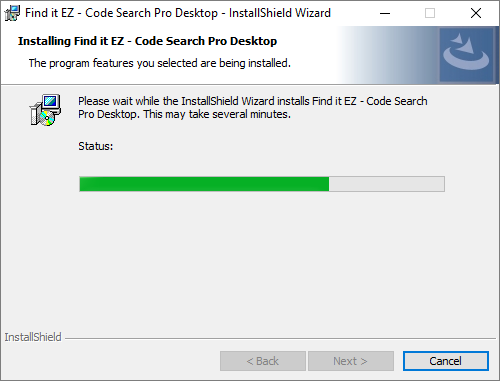
Click on the button to continue. The installation will begin and the following dialog will appear:
-
Once complete, click on the button to continue. The following dialog will appear:
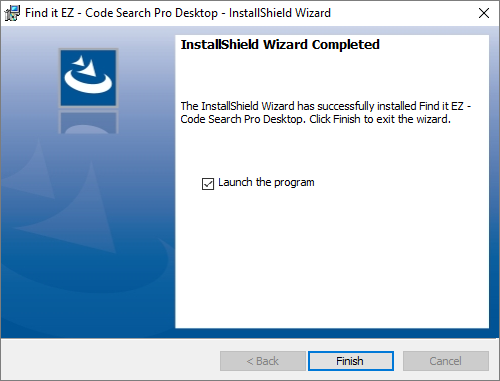
To launch the program after installation, click to select Launch the program (selected by default).
-
To complete the installation, click on the button. If selected, the program will launch.
Custom Configuration
After you download and install Find it EZ and run it for the first time, a Configuration Wizard opens to walk you through the initial setup and configuration process. This wizard can also be run at any time from the menu, as below:
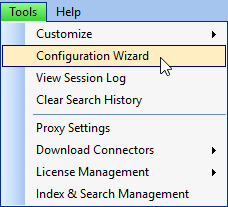
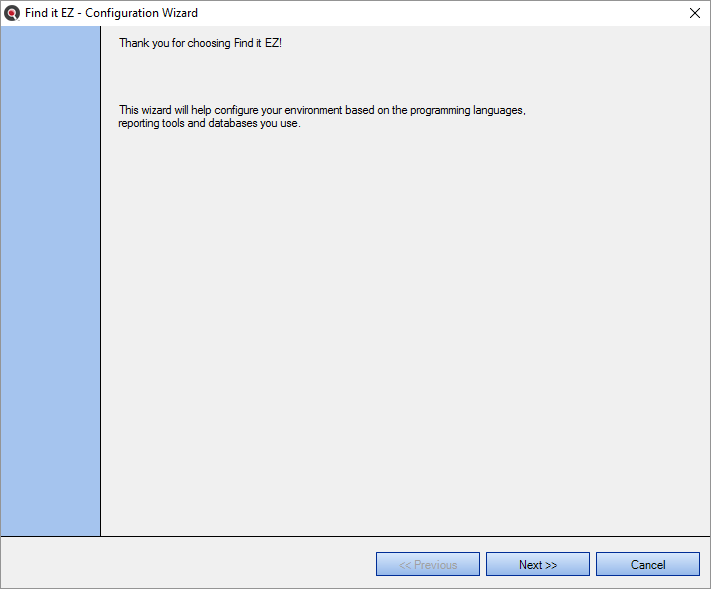
- Click on the button to continue through the steps (click on the button to go back at any point during the wizard).
- Once complete, click on the button to save all changes and close the Configuration Wizard.
- To exit and discard all changes at any point during the wizard, click on the button. This will apply and use your existing configuration settings.