Replace Wizards
This section takes you through each step required to use the REPLACE Wizards: launch the wizard (two ways), select where to look for reports, enter connection information, select report destination folder, select report tables to change, choose new connection type, and confirm information and convert.
Launch the Replace Wizards
The REPLACE Wizards can be launched via the button or via the menu. See below:
- Launch a REPLACE Wizard via the button:
Click on the button in the main application window.
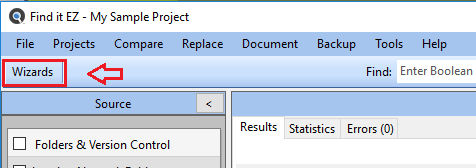
- Click to choose the following REPLACE wizard option:

OR
-
Launch a REPLACE wizard via the Find it EZ menu:

- The selected REPLACE Wizard will open.
Select Where to Look for Reports
Below is an example of the "change Crystal Reports Datasource connections" replace wizard.
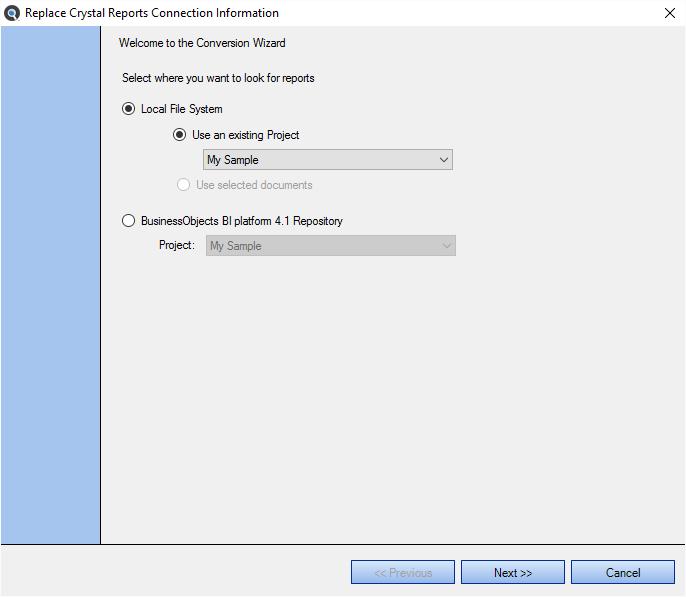
- Select where you want to look for reports:
- Click on the corresponding project drop-down list and select the desired project.
- If you have one or more search results selected, click to choose the Use selected documents option. This is a way of running the report with only a subset of items based on your last search.
- To continue, click on the button.
Select Report Destination Folder
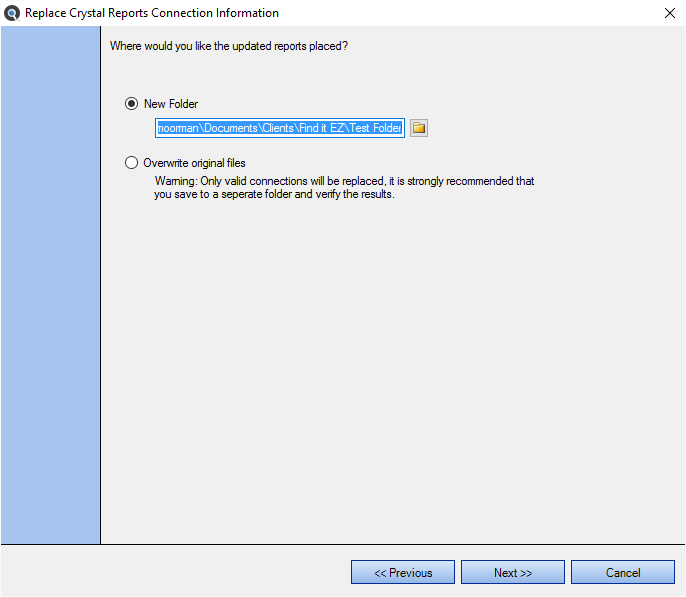
- To place the updated reports in a new folder, click to choose the New Folder option.
Click on the folder icon to the right of the text field. A Select Folder dialog will appear.

- Create or navigate to and select the desired folder.
- Click on the button. The selected folder path will now appear in the text field.
OR
-
To overwrite the original files, click to choose the Overwrite original files option.
Alert: All converted files are written to a single pre-existing target folder. The sub-folder structure from the selected source documents are not created in the target destination output path selected. If duplicate filenames exist in sub-folders, the files will be over-written with the last copy converted. This is a known limitation with an enhancement planned to auto re-create the source folder paths. As a temporary work-around, it is recommended that you convert only a single folder of documents at a time.
- To continue, click on the button.
Select Report Tables to Change
FinditEZ allows replacement of multiple or a subset of database connections that may exist within each report file. You may choose to replace only a subset of database connections, or all of them at once.
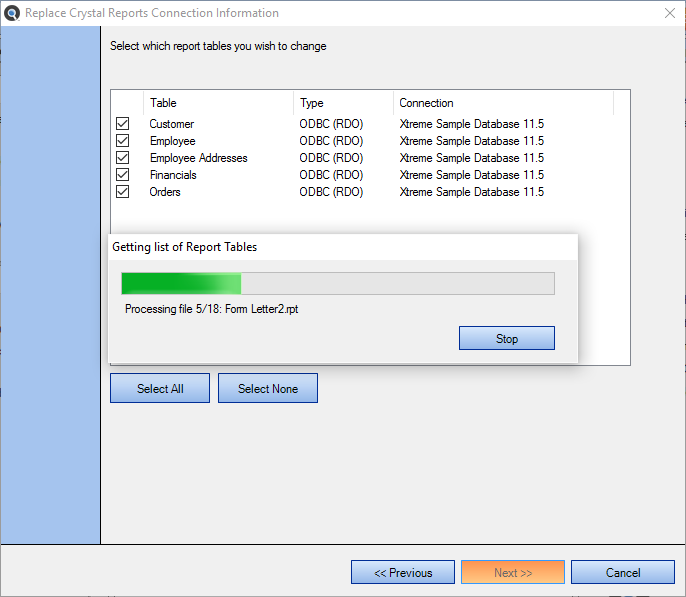
- A list of report tables from the selected location will load. See example above:
- To stop Find it EZ from loading report tables, click on the button.
- For each report table to want to change, click to check the preceding check-box. Note that all report tables in the selected location are selected by default.
- To continue, click on the button.
Choose New Connection Type
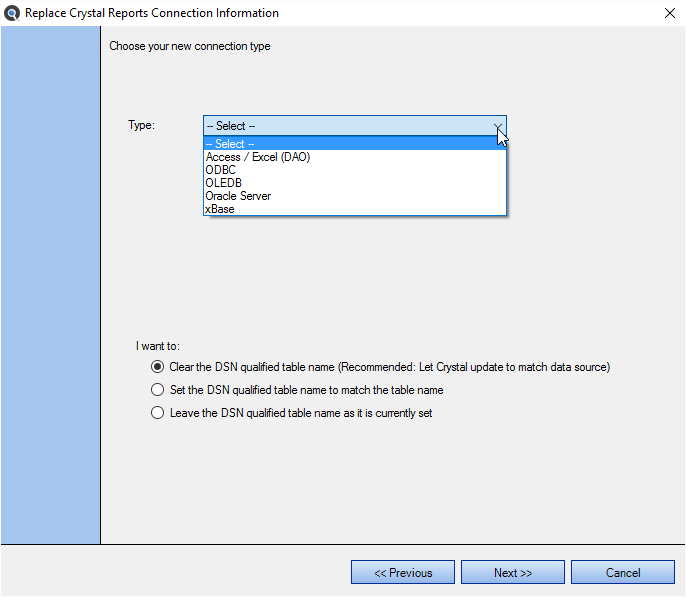
- Select the new connection type:
- Click on the Type field to view a list of connection types.
- Click to select the desired connection type.
- Enter and/or select connection parameters:
- For Access / Excel (DAO) and xBase, click on the folder icon and navigate to and open the desired folder.
- For ODBC, select the ODBC DSN and enter the Username and Password.
- For OLEDB, Configure OLE (via Data Link Properties) and enter the Username and Password.
Click on the button. The Data Link Properties dialog will appear. This dialog is opened by default.
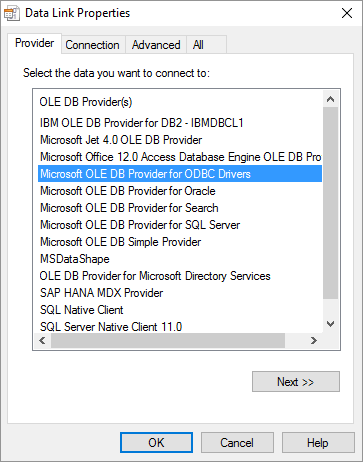
- Select the Provider and click on the button.
- Enter Connection parameters and click on the button.
- Enter any further required details (depending upon the selected Provider).
- Click on the button.
- For Oracle Server, enter the Service, Username, and Password.
- Tell Find it EZ what you want to do:
- In the I want to section, click to choose the desired option.
- To continue, click on the button.
Confirm Information and Replace

- Review the following information:
- Save Reports To
- New Connection Type
- Connection Parameters
-
If changes are required, click on the button. Click the button again to return to previous steps.
-
If the information is correct, click on the button. A Conversion Status notification will appear. See example below:
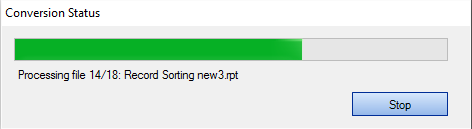
- To stop the conversion, click on the button.
- Once the conversion is complete, Microsoft Excel will launch and open a Conversion Results spreadsheet containing a detailed Conversion Log.
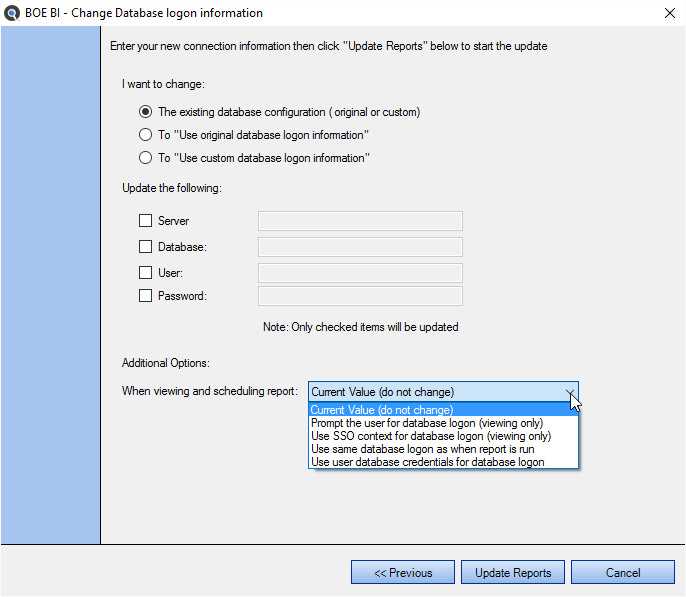
Enter New Connection Information and Update Reports
This dialog appears only when option 10 is selected from the Wizards. See example below:
-
In the I want to change section, click to choose the desired option.
- In the Update the following section:
- Click to select (i.e. check) each item that you want to update.
For each selected item, enter the new connection information in the corresponding text box.
Note: Only checked items will be updated. - In the Additional Options section:
- Click on the down arrow to view the drop-down list.
Select the desired option from the list.
- To start the update, click on the button.